
Craft Stick Clay Puppets
![]() It’s all about the puppet – and these Air Drying Clay Craft Stick Puppets are a brilliant rainy day project – you may have seen our Woodland stick puppets – well these are the indoor version when the weather is just too wet and rainy to get out!
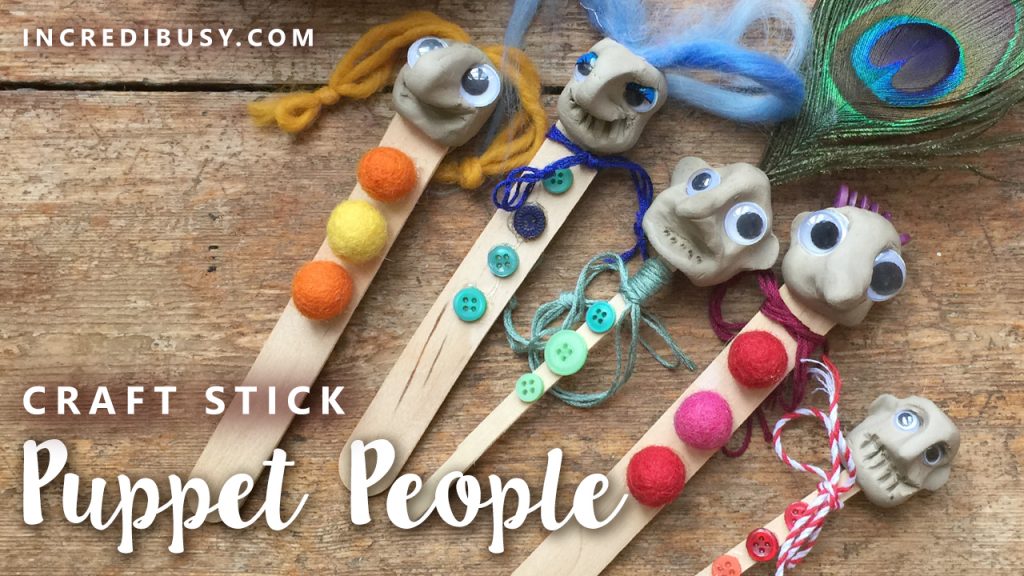
It’s all about the puppet – and these Air Drying Clay Craft Stick Puppets are a brilliant rainy day project – you may have seen our Woodland stick puppets – well these are the indoor version when the weather is just too wet and rainy to get out!
We LOVED making our woodland stick puppets, yet leaving them out in the garden (in the rain) has taken their toll… the clay we used went a bit soggy, and they have gone back to the big puppet show in the sky!
Sooooo we thought we’d have a go at making some Craft Stick Clay Puppets with a bit of domestic foraging, well, craft box foraging – and these are a little bit more colourful!
We have so many buttons in our button box, inherited from my Mother and both of my GRANDmothers – and lots of leftover bits of wool and embroidery thread so we thought this could be a fun (indoor) version of the Woodland Stick Puppets!
We had a few leftover shop-bought googly-eyes, and craft sticks, and some, (coughs) coffee stirrers ‘acquired’ from the local coffee shop and of course – Air Drying Clay.
We really like Air Drying Clay – as it’s so simple to use at home or in the classroom – we have found a good clay without any plastic fibres too – click here: Gedeo non firing clay, which we highly recommend (you can find similar in the US click here aff. links for your convenience)
 So for these, here’s a checklist to get started:
Coffee stirrers or Craft Sticks
Small buttons and felt pompoms (optional)
Ribbon or embroidery thread
Glue
Googly eyes (optional – again you don’t NEED these they just look fun)
Wool for the ‘hair’
Water in a small bowl (for smoothing cracks)
WATCH THIS:
Get started:
Pull a large marble sized lump of air drying clay from the packet, being sure to seal it up completely once you’ve done so – this stuff dried out QUICKLY.
 Roll the lump of clay into a ball, and start forming the character’s features – pinch out a nose shape, use a coffee stirrer to push in some eye sockets.
Use your finger to push under the nose to create a mouth – make it a smiley face! and smooth out any cracks with a small amount of water on the tip of your finger – Add googly eyes if you like, or leave as is – these clay faces are pretty characterful even without the addition of googly eyes!
Add teeth too if you fancy – again we used the end of the coffee stirrer to create this look.
Push the clay head onto the end of the craft stick and start assembling the decorations!
We glued buttons to the ‘chest’ of the stick and tied a little bow around the neck, and added fun feathers and fluffy wool for hair – add whatever you have around the house or in the craft box – and have fun!
And you know me – I like a craft that just keeps giving – we’ll be making a little video of the puppet show, maybe even a stop motion animation, so we’ll be sure to share that with you too.
If you enjoyed this Air Drying Clay Puppets post, do share and Pin the photos too!
And oh do check out our original nature inspired puppets here:

 sgiew – travel photography theme instagram challenge

[…] Craft Stick Air Drying Clay Puppets […]